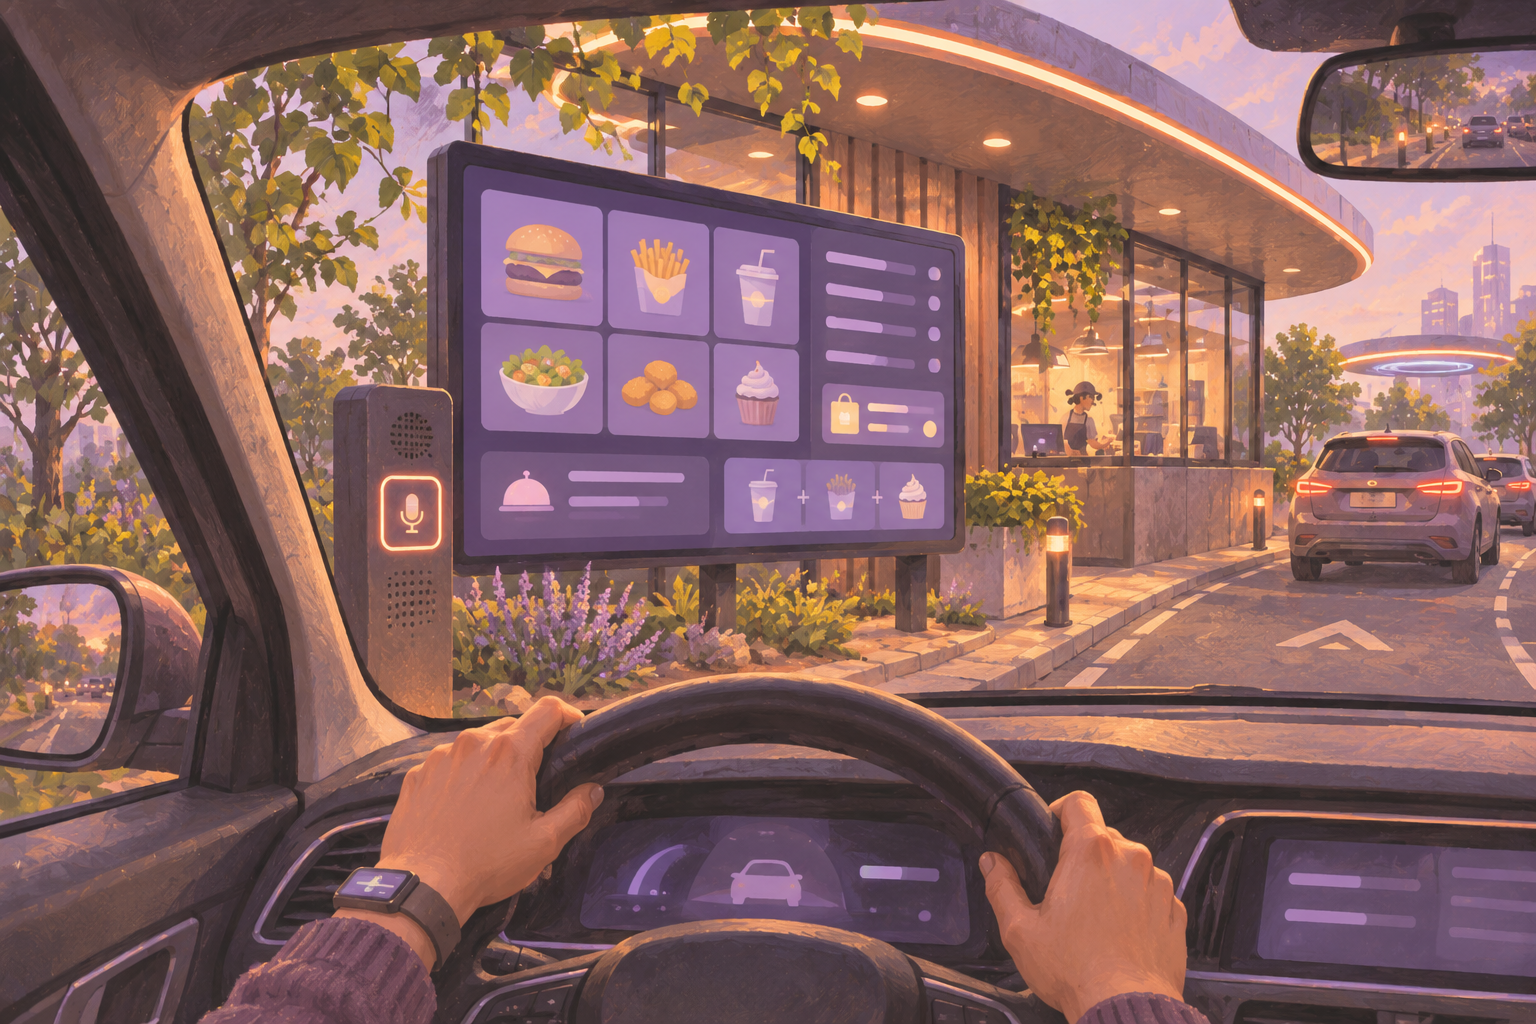
At a drive-thru order point, the menu has to answer three questions while the driver is talking to staff: what can I order, what comes with it, and what does it cost? Keep those answers on one steady screen. If you have a separate screen earlier in the lane, use it to introduce an offer before the driver reaches the speaker.
Give each screen a job
- Order point. Keep core categories, item names, prices, and common modifiers visible. Put the same item names on the menu and in the order system so guests and staff can refer to them consistently.
- Before the order point. Show a featured meal or a simple seasonal offer that drivers will see again on the main board. With one display, give the offer a small fixed area and leave the main menu in place.
- Pickup window. Use this space for pickup instructions or a short message. Leave order confirmations to the system designed to handle them.
For an illustrative lunch board, put “Chicken Sandwich Combo” in the main list with a price and the words “sandwich, fries, and a drink.” Put the sandwich-only option directly below it. Give the featured combo the same name on the approach screen. If drivers keep asking whether fries are included, move the answer closer to the item name before adding more copy.
Test from the lane before changing the design
Preview from the driver’s seated position at the actual stop point when the lane is closed or otherwise safe to use. Check the smallest price and modifier text in daylight and after dark. Ask someone unfamiliar with the menu to find a combo, explain what it includes, and read the price. If they struggle, remove detail and increase text size before adding animation or more photos. For an outdoor installation, have the installer verify the display’s environmental rating, operating conditions, and mounting requirements. For examples of outdoor-specific commercial displays, see Samsung’s outdoor signage catalog.
Rehearse the breakfast switch and a sellout
Use separately approved breakfast and lunch menus. If lunch starts at 10:30, run a practice switch and check which menu is on the display just before and after the handoff. The shift lead should also verify that the register and kitchen are ready for the same menu. A signage schedule changes what the screen shows. Treat register prices, availability, and online ordering as separate checks unless your specific integration has been verified.
- Keep an approved backup layout for the most likely sellout. If grilled chicken runs out, remove it from the main menu and replace any approach-screen promotion that still features it. Tell the headset operator what alternative to offer.
- Assign one person per shift to make the update and another to confirm what appears at the order point when staffing allows. Record the change and when the regular menu should return. Restore the item once the kitchen confirms it can be sold.
- Keep an approved printed menu or a verbal fallback for outages. A disconnected player may keep showing previously cached content, which can include an old price or a sold-out item. Rehearse the fallback with the headset operator and check the TV after reconnecting. See the offline playback guide.
Pilot the menu on one screen
Build the two menu playlists in HipDeck and use scheduled time slots to practice the switch. Pair a supported player using the first-screen guide and test the exact display and player combination before putting it in a live lane. The scheduling guide covers assigning a playlist to a time slot. For the broader restaurant rollout, see HipDeck’s restaurant signage guide.
Use the HipDeck trial to test the layout, a scheduled menu switch, and a sold-out update on one screen. The public pricing page lists one screen for seven days without a credit card and Growth at $8 per screen per month. A spare indoor screen is enough for a first content rehearsal. Confirm outdoor hardware and on-site readability before serving customers from the board.