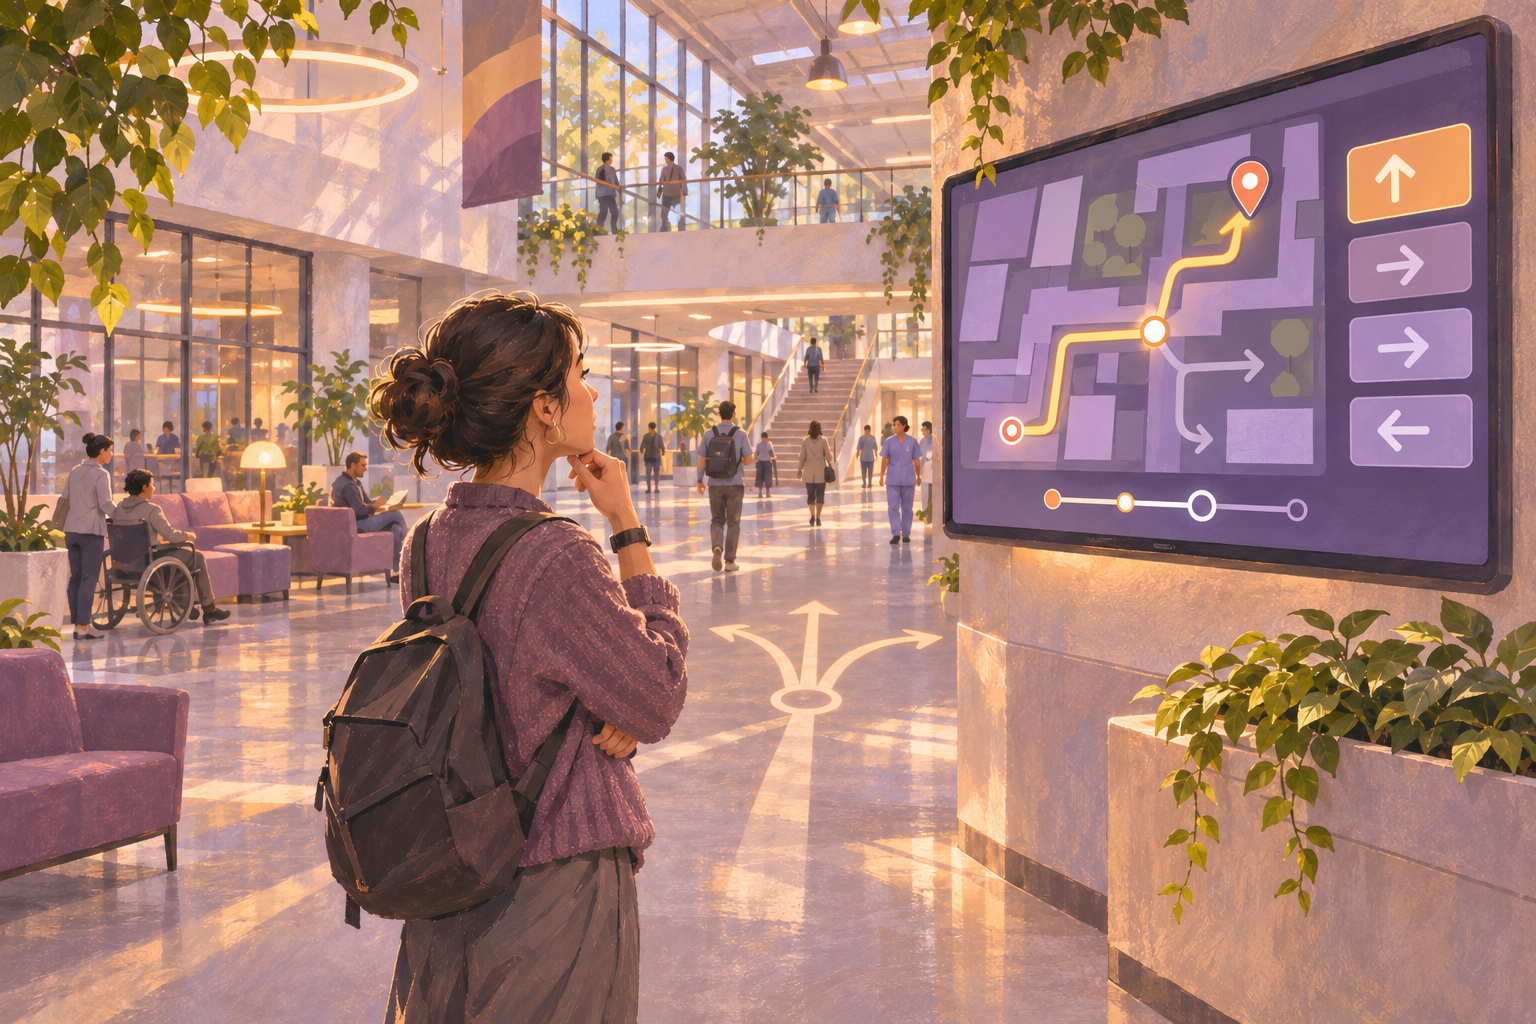
Digital wayfinding signage gives visitors directions on screens that staff can update. Start with one route people regularly get wrong. If visitors reach the elevator bank and ask which floor reception is on, put the instruction before they choose an elevator. If they reach the right floor but turn the wrong way, the better location may be the corridor junction.
Walk the route before choosing a screen
Start where a visitor actually arrives, such as a parking entrance, lobby, or elevator exit. Ask someone unfamiliar with the building to find the destination without coaching. Record where they pause, turn back, or ask for help. Walk the same route from a different entrance if the arrows or instructions would change.
- Write the destination exactly as it appears on the door and in visitor instructions. If the invitation says “Training Center” and the door says “Learning Suite,” settle on one public label before building the sign.
- Mark each point where the visitor must choose a direction. For each point, record the approach, the next action, the physical landmark, and how the visitor knows they’ve arrived.
- Choose the first unresolved decision for your pilot. Check the screen location from the visitor’s approach, including the view when other people are standing nearby. A display visible only after the turn is too late.
Write one instruction for each decision point
Imagine a training room on the second floor. From the lobby, the next action is to take the elevator. From the elevator exit, it’s to turn right. Reusing the same slide in both places would give one group the wrong instruction.
- Main lobby — “Training Center · Level 2 · Take the elevators beside reception.”
- Level 2 elevator exit — “Training Center → · Past the glass doors.”
- Final doorway — “Training Center · Room 204.”
Pair arrows with text or a landmark, and verify the direction from the actual viewing position. Keep the instruction visible long enough to read without standing still. If people have to wait for directions to rotate into view, give the route its own slide during the arrival window or keep a printed direction beside the screen.
Choose between a directional screen and a searchable directory
A directional screen works when the next action is predictable for the people approaching it. A searchable directory or interactive kiosk is a better fit when visitors arrive looking for many different tenants or need personalized routes. If the job is to show a small set of destinations or redirect traffic during a temporary closure, start with a scheduled slide. For a fuller comparison of the options, see Visix’s wayfinding guide.
Use a purpose-built kiosk or routing tool if visitors must search by name, choose a destination, or calculate a route from their location. The HipDeck pilot below uses display-only slides. Keep existing accessible directions, permanent room identifiers, and emergency signs in place.
Set up a one-screen pilot in HipDeck
- Pair a display using a supported player or a compatible TV browser. Test the actual device for full-screen playback, sleep behavior, and recovery after a restart. If the built-in browser needs staff intervention after a restart, evaluate a supported external player before rollout. See Add Your First Screen and the TV browser setup guide.
- Make a default directions slide with the destination, floor, and next action. Name the screen by where a visitor approaches it, such as “Level 2 elevator exit.” Preview the slide from that approach and walk the route to check the arrow.
- Create a separate playlist for a temporary route, such as “Training Center access via east corridor.” Set a time slot, then verify the temporary directions appear during that window and the default directions return afterward. If the route changes early, assign one person to update the screen and tell reception. See Set Up a Schedule.
- Rehearse a connection interruption and a restart. Verify what your player actually shows. For a detour, leave a printed sign at the affected junction so visitors still have directions if the screen is unavailable or stale. See the offline playback guide.
Measure whether people make the right turn
Before and during the pilot, ask reception to tally the same directional question during comparable periods. Repeat the route walk with a first-time visitor and record wrong turns, requests for help, and whether they reach the right door. Check again after a room or corridor change. If the first turn is clear but visitors still get lost at the elevator exit, add a confirmation sign there.
Use the HipDeck trial to test one route on one display. HipDeck lists a seven-day trial with one screen included and no credit card required, and Growth at $8 per screen per month. Pick the junction where people most often stop and test whether they can make the next turn without asking for help.